How to use Quest and Unity for Game development in VR
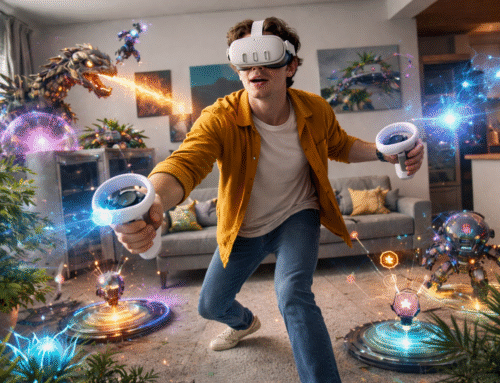
Embarking on game development for VR platforms like Quest 2 requires a strategic approach and adherence to specific guidelines. In this guide, we’ll delve into the process of creating immersive experiences using Unity, focusing particularly on Quest 2.
We have made games, experiences, applications, and experiences with Unity for various VR devices, including Oculus Rift, Rift S, Quest 1, Meta Quest 2, Valve Index, HTC, PSVR 1, PSVR 2, and others.
The first step towards game development for Quest 2 is ensuring that the application or game is developed from scratch and is not a port from other VR devices. Quest 2 requires a lot of optimization, and each application has to run on 72 FPS for it to be approved on Applab first and then on the Quest 2 store. Usually, the development process for Quest 2 and Unity is similar to that of other platforms.
Please Find The Summary
- We start with the game idea and then the brief game pitch.
- It would be good to see the current selling titles on Quest 2 to ensure that our game matches the quality and the gameplay.
- Once the game pitch gets finalized, we work on the Game design document that covers the gameplay mechanics, characters, story, level design, combat, environments, visual style, etc
- The team then divides the development process into different milestones based on the game.
- We then start with the first build for the game that covers the core gameplay mechanics to ensure that the game is fun. We can use placeholder elements for now or unity asset store assets.
- Developers must integrate the Oculus SDKs, APIs, hand tracking, and controls.
- The art and level design team then works on the characters, environments, animations, UI, and level design.
- The developers then improve the first build with the actual characters, environments, level design, and lighting The team continues with the milestone development.
- The final step would be Testing and QA.
Once the application is ready, you can submit it to the Oculus/Meta Store. They will test it and let you know if there are any bugs or errors. Once it is approved, you can launch the App.